
A lumber takeoff is the process of measuring a set of construction drawings and turning them into a complete, ordered list of every piece of wood the building needs. Anyone can learn the mechanics. What separates a takeoff you can bid from a takeoff that costs you money is discipline about sequence, sources and waste — and that’s what this guide teaches: the same step-by-step method our estimators use on everything from single-family homes to four-story hotels.
Fair warning from people who do this for a living: a first careful takeoff on a full house set takes 10–25 hours. The steps below will make yours accurate. Whether the hours are worth it is a separate business question we’ll touch at the end.
Before You Measure Anything: Assemble the Right Sheets
Most takeoff errors are committed before the first measurement, by working from the wrong sheet. You need, at minimum: the architectural floor plans (openings, dimensions), the foundation or slab plan (sill and PT lines), the floor framing plans, the roof framing or truss layout, the wall sections and details, and — on engineered buildings — the schedules: stud wall schedule, shear wall schedule, header schedule. Where the architectural and structural sheets disagree, the structural governs for framing quantities, and the disagreement itself goes into your notes, because it will resurface as an RFI or an addendum.
Two setup rules that pay for themselves: verify the drawing scale against a printed dimension before trusting any measurement, and keep a running assumptions log from minute one. Every professional takeoff we deliver ships with its assumptions written down; yours should too.
Step 1: Take Off the Plates
Start with wall lines, not studs. Measure every wall run — exterior, interior bearing, interior partition — and convert to plate stock: one bottom plate plus a double top plate is 3 LF of plate per LF of wall. Anything sitting on concrete is pressure-treated and goes on its own line, because PT is a different product at a different price. Keep exterior and interior runs separate; you’ll want them apart when you sheath.
Step 2: Count Studs at the Real Spacing
The rough rule — one stud per foot of wall at 16″ o.c. — exists because it quietly covers corners, intersections and window trimmers on an average wall. Use it as a sanity check, not a method. The count that survives a bid comes from the wall schedule: studs at the scheduled spacing per wall type, then king and jack studs added at every opening from the door and window schedules, then multi-stud packs at beam bearing points. On engineered buildings the spacing changes by wall type and sometimes by floor — a shear wall at 12″ o.c. next to a partition at 24″ o.c. is a 2× difference a square-foot rule will never see.
Step 3: Headers, from the Schedule
Work the header schedule opening by opening: size, ply count, length, and species or LVL callout. Headers are short, expensive and easy to undercount because they hide in a schedule rather than on the plan. If there is no header schedule, size per the applicable code span tables and write the assumption down.
Step 4: Floor Framing
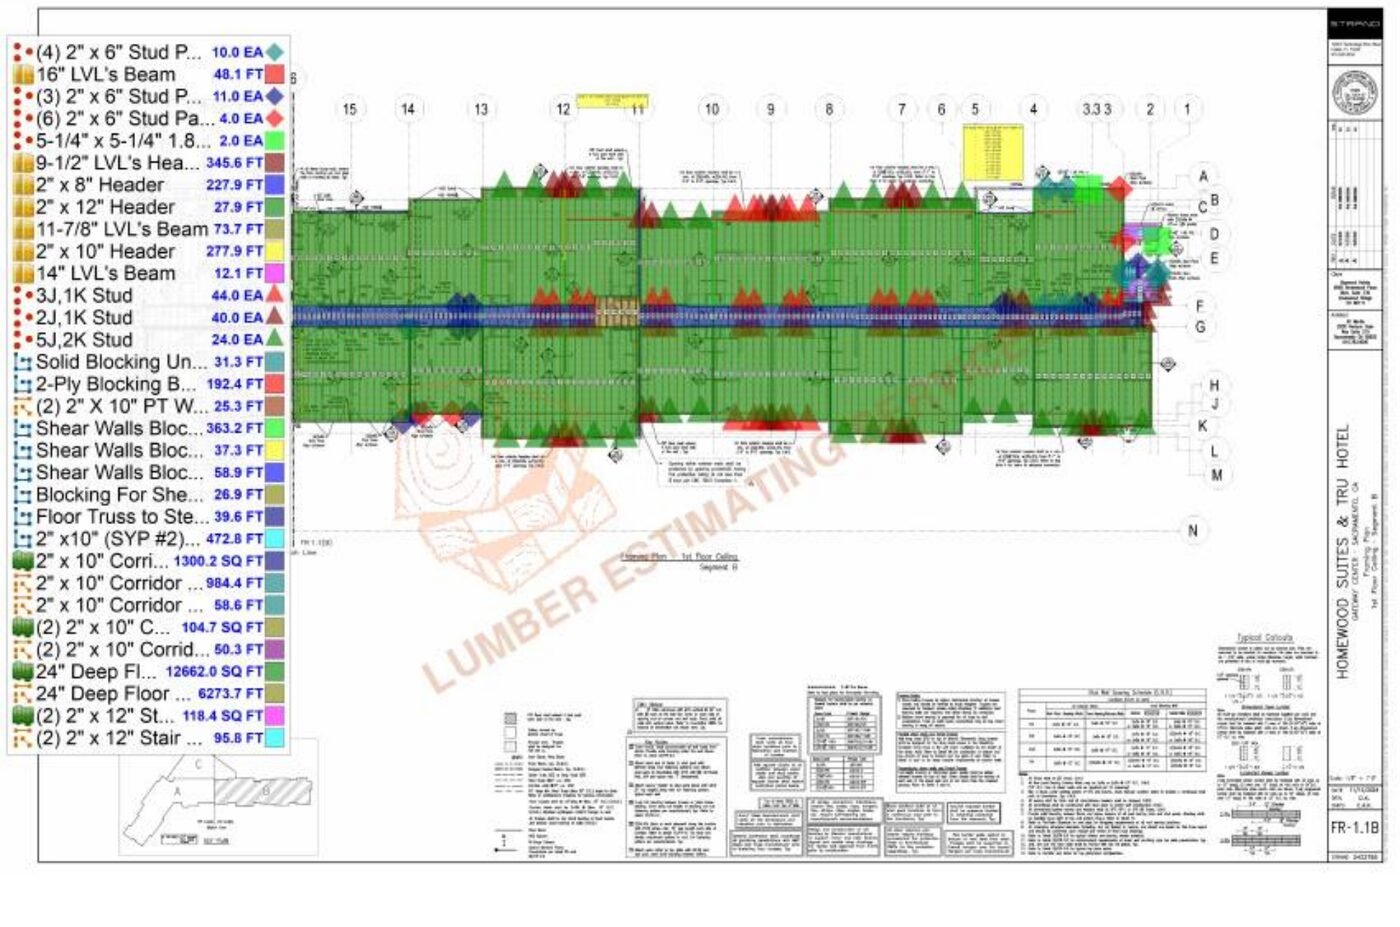
Joists: divide each span area by the spacing, round up per run, add one, and add rims and doubles under parallel bearing walls. Trusses: count them from the layout drawing — and keep them grouped by span and depth, because that’s the format a truss manufacturer can actually quote. Then the material the plan doesn’t draw but the details demand: solid blocking under bearing walls, mid-span blocking rows, ledgers with their fastener callouts, and hangers at every flush connection.
Step 5: Roof Framing
Trussed roofs: count from the truss layout by type — commons, girders, hips, jacks — never by dividing building length by spacing, which misses girders and end conditions. Stick-framed roofs: rafters per run length and spacing, plus ridge, hips, valleys and collar ties, with lengths taken along the slope, not off the flat plan. Either way, add the perimeter wood: sub-fascia, outlookers, blocking at bearing.
Step 6: Sheathing, by System
Sheath in three passes — walls, roof, floor — and never merge them. Wall area ÷ 32 SF per sheet, openings over about 16 SF deducted; roof area computed along the slope with pitch factor; floor area in 3/4″ tongue-and-groove with subfloor adhesive on its own line. Keep panel ratings separate: on engineered plans, shear walls call for specific panels and nailing, and Structural I panels at shear lines cost meaningfully more than standard wall sheathing. Merging them into one line is a mispriced bid waiting to happen.
Step 7: Hardware and Fasteners — Count, Don’t Allowance
Hangers at every flush joist and beam connection, straps and holdowns from the shear wall details, clips and framing angles from the framing notes, anchor bolt spacing off the foundation plan, and nails by the nailing schedule. This is the section most self-performed takeoffs handle with a lump-sum guess, and it’s the wrong section to guess: on commercial jobs hardware runs 8–14% of framing material cost, and on the hotel projects in our published takeoff data the connector schedules run past 20,000 counted pieces. Residential lists are shorter, but the failure mode is identical.
Step 8: Apply Waste — Visibly
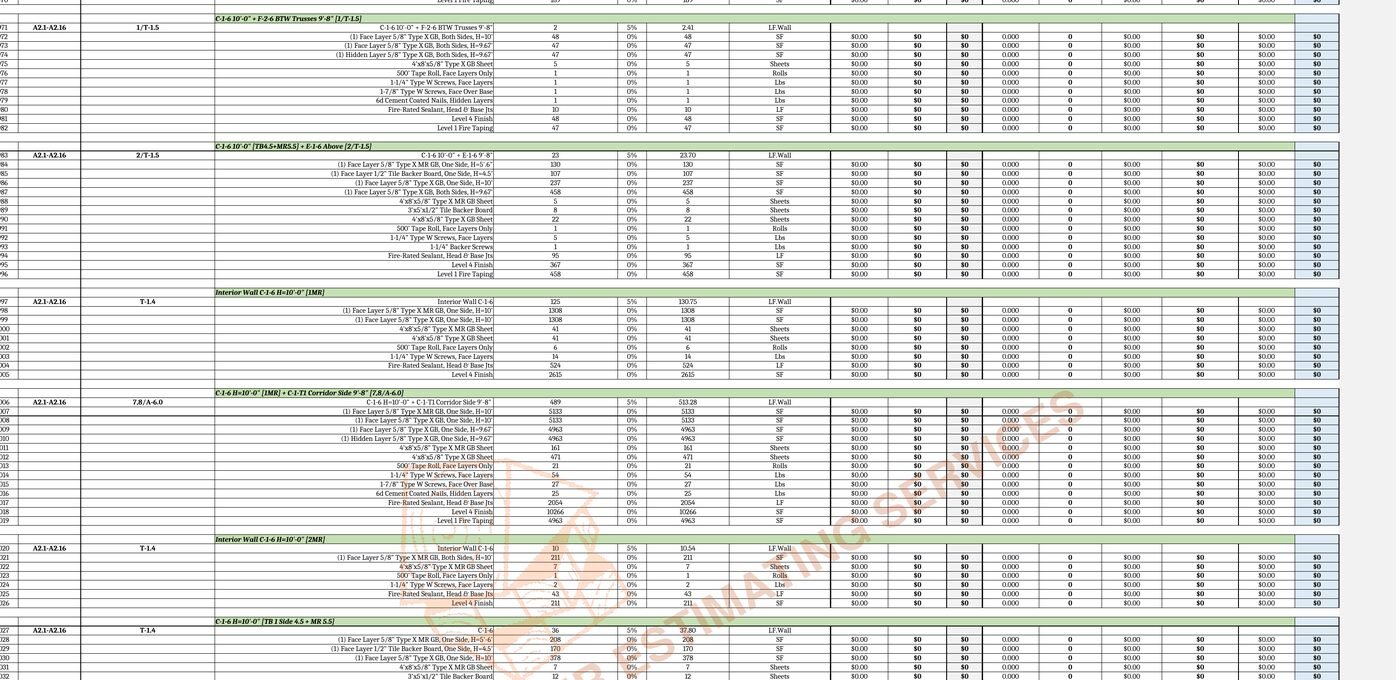
Industry waste guidance for framing lumber and sheathing runs 10–15% (NAHB); disciplined line-item work supports tighter factors — we typically carry 5% on commercial packages because blocking and short pieces are already counted, not padded. The rule that matters more than the number: waste goes on its own column where the buyer can see it, never buried inside inflated counts. Net quantity, waste percent, gross quantity — every line.
Step 9: Build the Order List
Raw counts aren’t an order. Convert cut lengths to stock lengths (a 9′ stud comes out of a 10′ stick, and the offcut is real waste your factor must cover), consolidate by product-grade-length, and organize the way a yard quotes: dimensional by size, then PT, then engineered, then panels, then hardware. A cut-list pass that maps short pieces into efficient stock lengths — six 2′ blocks from a 12′ stick — is the difference between a material list and a lumber order. This consolidated format is exactly what our material takeoff and material list service delivers as standard.
The Mistakes That Actually Cost Money
After hundreds of takeoffs, the same five errors account for most of the damage we see in contractor-supplied lists: hardware carried as an allowance instead of a count; PT merged with standard lumber; Structural I and standard panels merged; stud spacing changes between wall types (or floors) missed; and blocking skipped entirely because it isn’t drawn as discrete pieces. Every one of them biases the same direction — under — and under is the expensive direction on a fixed-price bid. We’ve quantified what those misses cost in the true cost of a bad lumber takeoff.
Do It Yourself, or Send It Out?
Now the business question. The method above works — and it costs 10–25 hours per bid set, which is either your evenings or your estimator’s loaded salary. A professional takeoff costs from $150 residential and $300 commercial, delivers in 24–48 hours with color-coded markups you can audit, and scales to as many bids as you’re chasing. Plenty of framers do their own small takeoffs and send out the big ones; the honest break-even math is in our in-house vs. outsourced comparison.
Want to see the finished standard before you try it? Download a real watermarked takeoff on our sample page, or send your plans and have quantities back in 24–48 hours — (332) 242-5480.